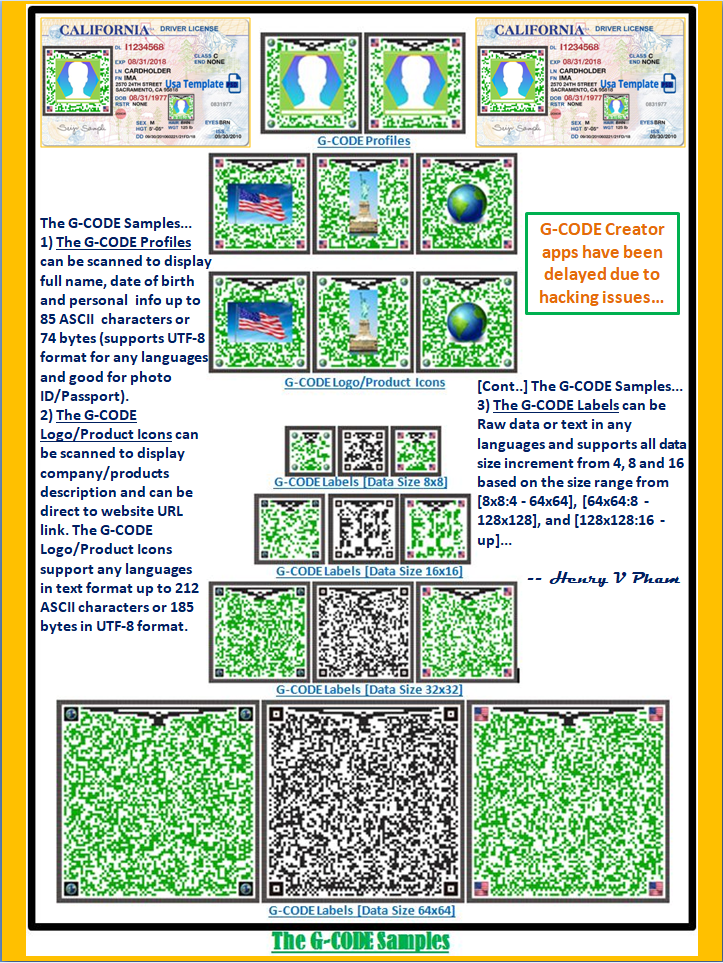
|
[1]: Make Standard Labels from Text File [Line-by-Line]
- Use the G-CODE Matrix Size Calculator from the Tools menu to calculate the data size you want.
- Use the Text Data Generator applications from the Tools menu to create your Text Data file.
- Save and Prepare your Text Data file format line-by-line.
- From G-CODE Creator application, select option [1] from the File menu to create G-CODE Labels.
- Select your Text Data file to create G-CODE Labels.
- Select G-CODE Corners mode that you want the corners look like.
- Click on 'Create' button to start creating your G-CODE Labels.
- Click on the [green] output field to open your G-CODE Labels folder.
- Finally, open the G-CODE Data Reverter application with Output Format '-textln' to check the G-CODE Labels that have been created.
[2]: Make Standard Labels from Dot-Matrix CSV File
- Prepare your Matrix Data file in CSV format as shown examples below.
- Make sure the Matrix Data size must be within the G-CODE required sizes below:
- Matrix Data Sizes within [8x8] to [64x64] must be incremented by 4 dots on each size.
- Matrix Data Sizes within [64x64] to [128x128] must be incremented by 8 dots on each size.
- Matrix Data Sizes from [128x128] and up must be incremented by 16 dots on each size.
- From G-CODE Creator application, select option [2] from the File menu to create G-CODE Labels from Dot-Matrix CSV File.
- Select your Matrix Data CSV file to create G-CODE Labels.
- Select G-CODE Corners mode that you want the corners look like.
- Click on 'Create' button to start creating your G-CODE Labels.
- Click on the [green] output field to open your G-CODE Labels folder.
- Finally, open the G-CODE Data Reverter application with Output Format '-matrix' to check the G-CODE Labels that have been created.
♦ Example of UserDataMatrix[8x8]:
1,1,1,1,0,1,1,0
0,1,0,0,1,0,1,1
1,0,1,1,1,0,0,1
1,1,1,0,0,0,1,1
1,1,1,1,0,0,0,0
0,0,0,0,0,1,0,1
0,1,0,0,0,1,0,0
1,0,1,0,1,0,0,0
♦ Example of UserDataMatrix[12x12]:
0,0,0,0,1,0,1,0,0,1,0,0
0,0,0,0,0,0,0,0,0,1,0,1
0,1,1,1,0,1,1,0,1,1,1,0
1,0,0,1,1,1,0,1,1,0,0,1
1,0,1,0,1,1,0,0,1,0,0,0
0,1,0,1,1,1,1,0,1,0,1,1
1,0,1,1,1,0,1,0,0,0,1,0
1,0,1,1,0,0,1,0,0,0,0,0
1,1,1,1,0,1,0,1,0,1,0,1
0,0,0,1,0,0,1,0,0,1,0,1
0,1,1,0,1,1,1,1,0,0,1,1
0,0,0,0,1,0,0,1,0,0,1,0
[3]: Make Standard Labels from Input Text [FREE 1]
- Make a free Standard Label from Input Text.
- From G-CODE Creator application, select option [3] from the File menu to create G-CODE Label from Input Text.
- Enter your text within the length limitation.
- Select G-CODE Corners mode that you want the corners look like.
- Click on 'Create' button to start creating your G-CODE Label.
- Click on the [green] output field to open your G-CODE Label file.
- Finally, open the G-CODE Data Reverter application with Output Format '-textln' to check the G-CODE Label that has been created.
[4]: Make Custom Smallest Labels from Text File [Line-by-Line]
- Make custom G-CODE Labels with the data size [8x8] that can hold up to 21 ASCII Characters or 18 UTF-8 Bytes.
- Use the Text Data Generator applications from the Tools menu to create your Text Data file.
- Save and Prepare your Text Data file format line-by-line.
- From G-CODE Creator application, select option [4] from the File menu to create G-CODE Labels.
- Select your Text Data file to create custom G-CODE Labels.
- Select G-CODE Corners mode that you want the corners look like.
- Click on 'Create' button to start creating your custom G-CODE Labels.
- Click on the [green] output field to open your G-CODE Labels folder.
- Finally, open the G-CODE Data Reverter application with Output Format '-textln' to check the G-CODE Labels that have been created.
[5]: Make G-CODE Logo Icon from Input Text
- Make a G-CODE Logo Icon from Input Text and Logo image.
- From G-CODE Creator application, select option [5] from the File menu to create G-CODE Logo Icon from Input Text and Logo image.
- Enter your company Web site URL or Logo Description within the length limitation.
- Select your company Logo image file.
- Select G-CODE Corners mode that you want the corners look like.
- Click on 'Create' button to start creating your G-CODE Logo Icon.
- Click on the [green] output field to open your G-CODE Logo Icon file.
- Finally, open the G-CODE Data Reverter application with Output Format '-textln' to check the G-CODE Logo Icon that has been created.
[6]: Make G-CODE Product Icons from Text File [Line-by-Line]
- Make G-CODE Product Icons from an input Text Format file line-by-line.
- Prepare your Product Image files [*.jpg] and Product Text Info files [*.info] with the same filename in 2 different file extensions.
- The Product Info files must have the first line with Product URL link or a short Product Description, and the text length must be within [85-212] characters for English and [75-185] bytes for Chinese and other languages.
- The G-CODE Product Icons can be scanned and link directly to the Product Web site with this input line from Text Info file.
- Use the Product Images File Generator application from the Tools menu to create your Text Data file. This file will contain Product Info and the Image files.
- Select your working folder that contains these Product Info files and Product Image files.
- Select the correct file types for your Product Info files and Product Image files.
- Click on 'Create' button to start creating your G-CODE Product Icons Text ready file.
- Click on the [green] output field to open your G-CODE Product Icon ready folder. This folder will be used to create your G-CODE Product Icons with the created Text ready file and the Image files.
- Save and Prepare your folder and Text Data file format line-by-line.
- From G-CODE Creator application, select option [6] from the File menu to create your G-CODE Product Icons.
- Select your G-CODE Product Icons Text ready file to create G-CODE Product Icons.
- Select G-CODE Corners mode that you want the corners look like.
- Click on 'Create' button to start creating your G-CODE Product Icons.
- Click on the [green] output field to open your G-CODE Product Icons folder.
- Finally, open the G-CODE Data Reverter application with Output Format '-textln' to check the G-CODE Product Icons that have been created.
[7]: Make G-CODE Profile from input Text and Photo File.
- Prepare a nice looking profile photo.
- From G-CODE Profile Creator application, select a template with naming-banner that you like to crop your profile photo within the Hexagon.
- Click 'Next' button then select your profile photo file.
- Click the Arrow buttons and Zoom buttons to adjust the photo to crop within the yellow Hexagon.
- Click 'Crop' button to cut the photo the way you like then click 'Next' button to fill in your info.
- Enter your info then choose the correct font in your language then click 'Apply' button, your G-CODE Profile Icon will be created.
- Click on the [green] output field to open your G-CODE Profile Icon file.
- Finally, open the G-CODE Data Reverter application with Output Format '-textln' to check the G-CODE Profiles Icons that have been created.
[8]: Make G-CODE Profiles from Text File [Line-by-Line]
- Make G-CODE Profile Icons from an input Text Format file line-by-line.
- Prepare your Profile Image files [*.jpg] and Profile Text Info files [*.info] with the same filename in 2 different file extensions.
- The filename could be the Full-Name plus Date-of-Birth for both format files [*.jpg] and [*.info].
- The Profile Info files must have the first line with the Profile info as below with text length of [21-85] characters for English Profile and [18-74] bytes for Chinese and other languages.
- F:[FirstName ] - First Name is a must have and must be at least 2 Characters or 2 UTF-8 Bytes.
- M:[MiddleName] - Middle Name is an optional and must be at least 2 Characters or 2 UTF-8 Bytes if it is provided.
- L:[LastName ] - Last Name is a must have and must be at least 2 Characters or 2 UTF-8 Bytes.
- B:[BirthDate ] - BirthDate is a must have and must be in this format inside the square brackets [yyyy/MM/dd].
- E:[Email-Addr] - Email Address is an optional and must be valid if it is provided.
- I:[ID-AphaNumeric] - ID is a must have and must be ASCII Characters and Number from 5-15 characters.
- Use the Profile Info+Images Text File Generator application from the Tools menu to create your Text Data file. This file will contain Profile Info and the Image files.
- Select your working folder that contains these Profile Info files and Profile Image files.
- Select the correct file types for your Profile Info files and Profile Image files.
- Click on 'Create' button to start creating your G-CODE Profile Icons Text ready file.
- Click on the [green] output field to open your G-CODE Profile Icons ready folder. This folder will be used to create your G-CODE Profile Icons with the created Text ready file and the Image files.
- Save and Prepare your folder and Text Data file format line-by-line.
- From G-CODE Creator application, select option [8] from the File menu to create your G-CODE Profiles Icons.
- Select your G-CODE Profile Icons Text ready file to create G-CODE Profiles Icons.
- Select G-CODE Corners mode that you want the corners look like.
- Click on 'Create' button to start creating your G-CODE Profile Icons.
- Click on the [green] output field to open your G-CODE Profiles Icons folder.
- Finally, open the G-CODE Data Reverter application with Output Format '-textln' to check the G-CODE Profiles Icons that have been created.
♦ Examples of Profile Info Text at the first valid line in the Profile Info file:
F:Jennifer M:R L:Smith B:03/25/1976 E:Jennifer.Smith@Gmail.com I:E673214232353
F:Elizabeth M:V L:Thomas B:4/19/1993 E:Elizabeth.Thomas@Gmail.com I:E673214232353
F:依 L:诺 B:01/15/1981 E:Yi.Chen@Gmail.com I:C673214232353
F:Nhi M:Thi L:Huỳnh B:07/25/1985 E:Nhi.Huynh@Gmail.com I:V673214232353
[9]: Reserved G-CODE Creator Features
- Reserved G-CODE Creator Features.
|
|